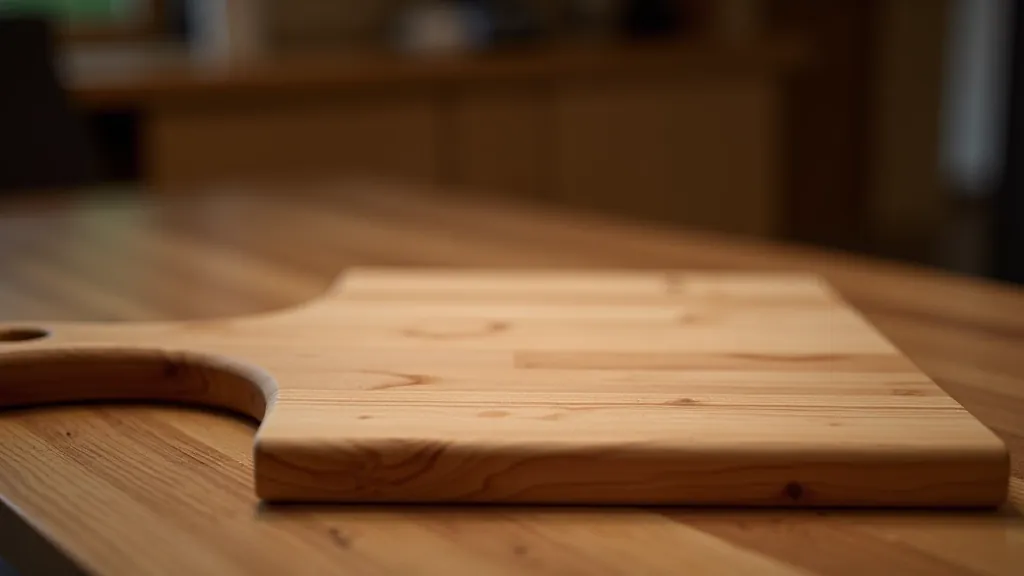
Why Start With a Cutting Board?
A cutting board is honestly the perfect first project. It's not complicated, but it teaches you real skills you'll use in everything else. You're learning how to measure accurately, make straight cuts, sand properly, and apply a finish. All without spending three weeks on a single piece.
Most importantly? You'll actually use it. Not many beginner projects end up on your kitchen counter. This one does. That's satisfying in a way a practice board never is.
What You'll Need
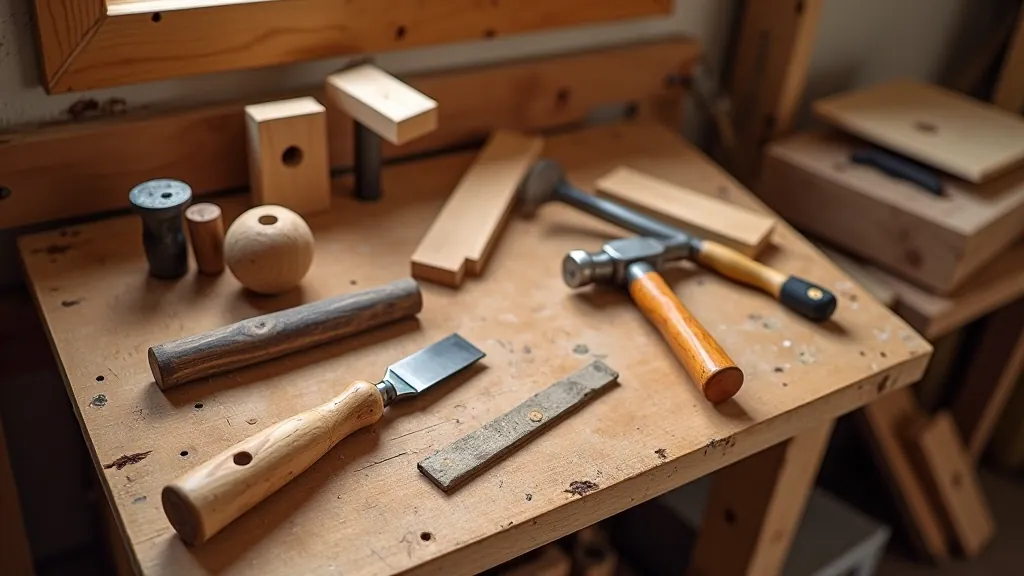
Here's the deal — you don't need much. A piece of Baltic birch or oak (about 350 × 250 × 20mm is a good starter size), a hand saw or circular saw, a chisel, sandpaper in 120, 180, and 220 grit, and a finish like food-safe mineral oil or beeswax. That's it. Most people overthink the tools part.
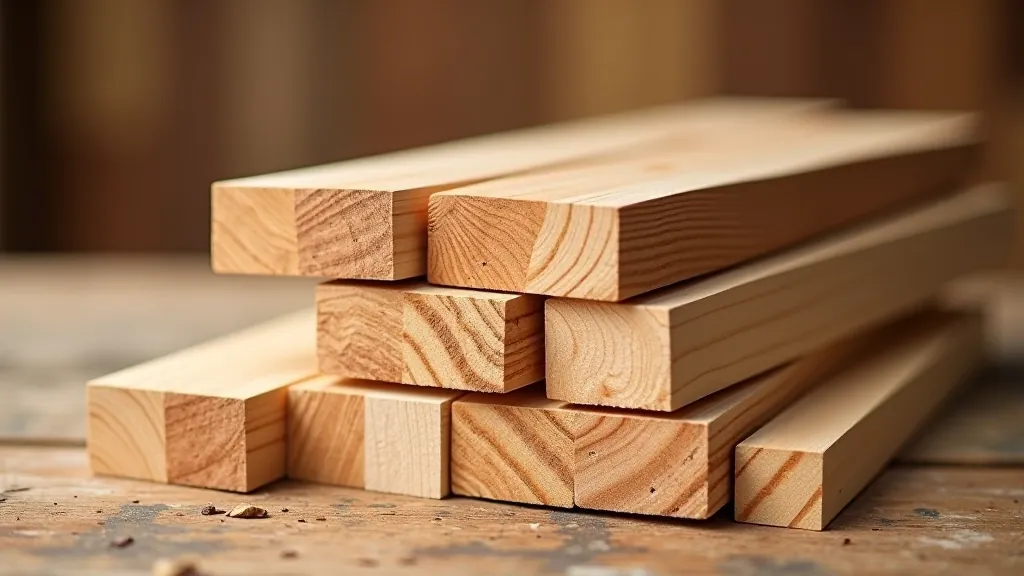
The wood itself matters more than fancy equipment. Baltic timber — especially birch — is solid for this. It's straight, doesn't warp easily, and looks good. You can find it at any lumber supplier in Latvia without hunting around.
Educational Note: This guide is informational and intended to help you understand the woodworking process. Always wear appropriate safety equipment (eye protection and dust mask), work in a well-ventilated space, and follow manufacturer instructions for all tools. If you're new to woodworking, consider taking a workshop or working with an experienced maker before starting your first project.
The Building Process: Step by Step
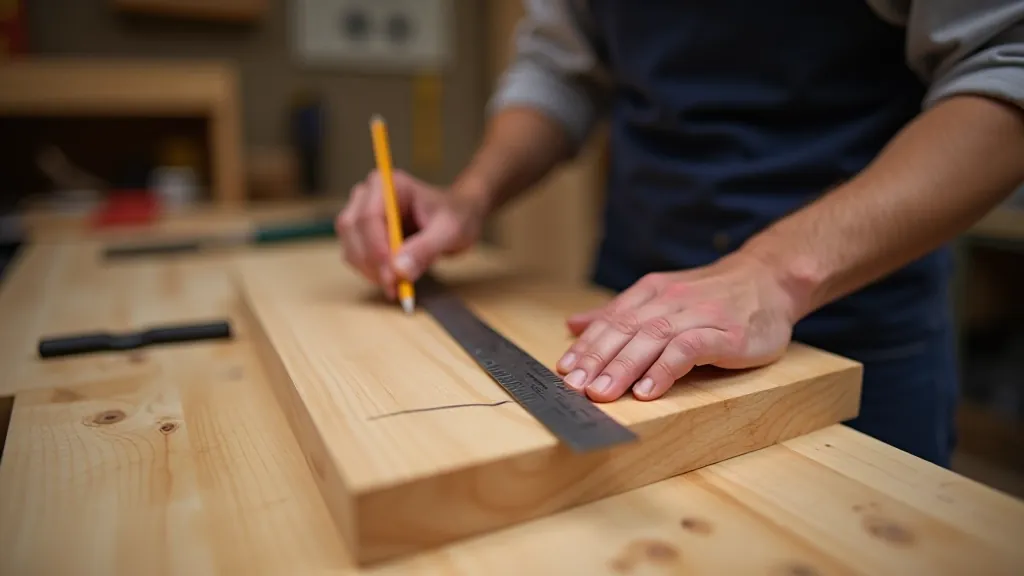
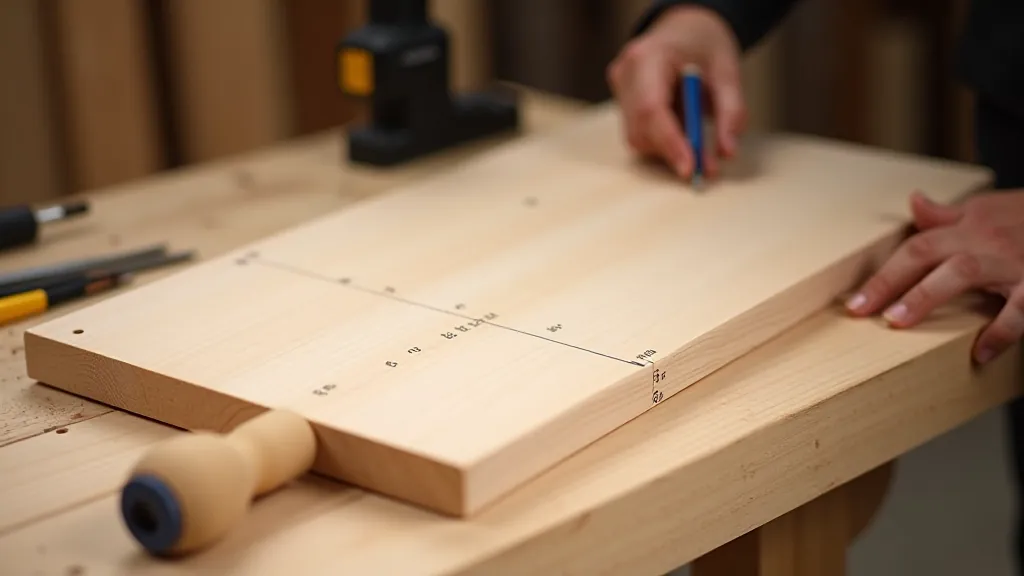
Don't rush the preparation. Mark your board clearly with pencil. You want two parallel lines showing where you'll cut the corners — about 20mm radius at each corner is plenty. Make the curves smooth but not complicated. A piece of string pinned at the corner radius works if you're worried about getting them even.
When you cut, let the tool do the work. You're not forcing anything. If you're using a hand saw, long slow strokes beat fast frantic ones. You'll get straighter cuts and you won't get exhausted.
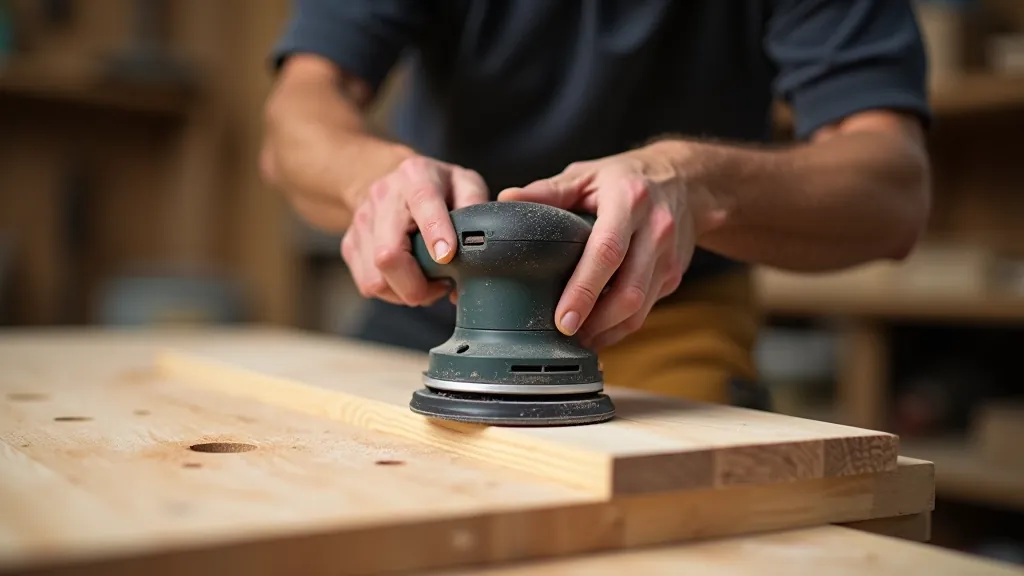
Key Point: Sanding takes longer than cutting. Don't skip grits. Start at 120, move to 180, finish at 220. Each step removes the scratches from the previous one. You'll feel the difference when you run your hand over it — that's when you know you've sanded enough.
Finishing: The Last Mile
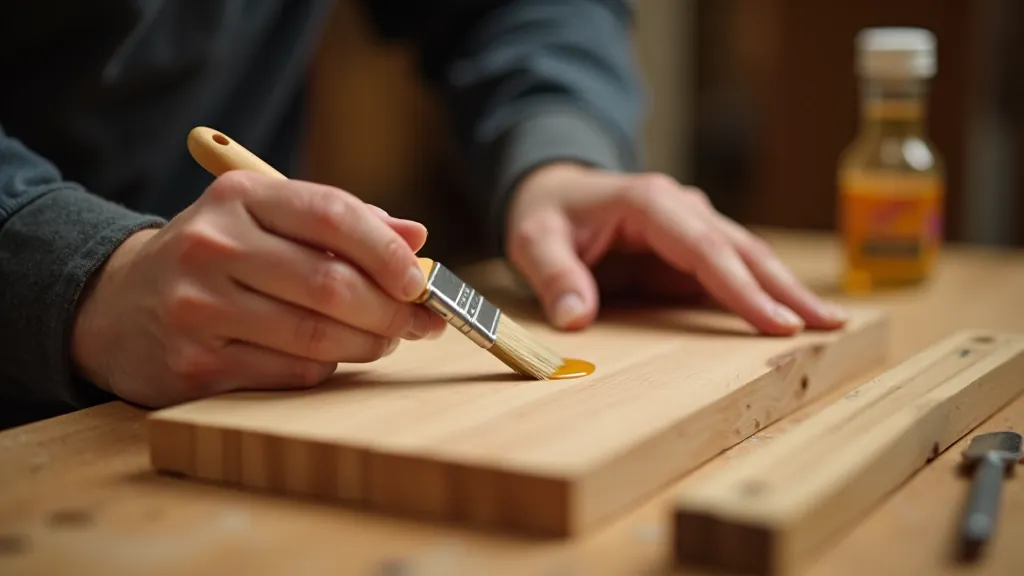
This is where your board goes from "decent" to "actually looks finished." Use mineral oil for food contact. Apply it generously, let it soak for 10-15 minutes, then wipe off the excess. You're not painting — you're feeding the wood.
If you want it to last longer, add beeswax. Mix it with the mineral oil (about 1 part beeswax to 4 parts oil), warm it slightly, and apply the same way. It'll repel water better and look richer. Let it cure for 24 hours before using it.
You're Done. Now What?
You've built something real. It works. People will use it. That's worth celebrating.
The next project will be easier. You'll know how wood moves, how tools behave, what "finished" actually feels like. You've got the fundamentals down. Whether you want to build more kitchen stuff, small boxes, or eventually furniture — you've already taken the hardest step.
Keep the scraps. Save them for test runs on future projects. Every piece of wood teaches you something.